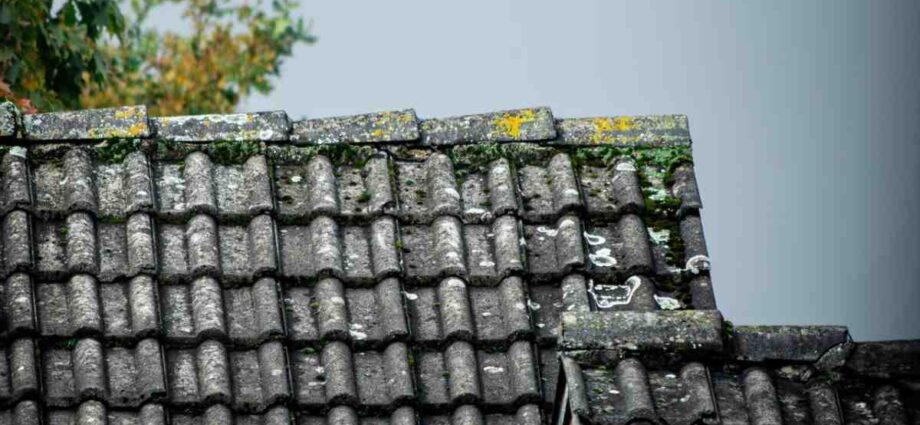
There is a specific, eerie silence that follows a major American storm. As the wind dies down and the clouds part, a sense of relief usually washes over homeowners. However, that relief is often usually washed over homeowners as it is often quickly replaced by a nagging anxiety: Is the roof okay? What was that thud on the siding? How much is this going to cost?
For many, the first instinct is to look out the front window, see no fallen trees, and assume everything is fine. But storm damage is a patient predator. High winds and hail can compromise the structural integrity of your home in ways that aren’t visible from the driveway. Left unaddressed, a few missing granules or a loosened shingle can manifest months later as a catastrophic ceiling leak or a mold infestation.
To protect your investment, you need to be proactive. This guide provides a step-by-step, safety-first checklist to help you assess your property like a pro before you ever pick up the phone to call an insurance adjuster.
Section 1: The Ground-Level Perimeter Check
Before you begin looking for dents and dings, you must ensure the environment is safe. In the United States, post-storm hazards like downed power lines and localized flooding cause thousands of injuries annually.
Safety First: Always assume a downed wire is live. If you see standing water near electrical boxes or downed lines, stay inside and call your utility provider immediately. Once you’ve confirmed the coast is clear, put on sturdy, closed-toe shoes to protect against shattered glass or hidden debris.
Windows and Siding: Walk the entire perimeter of your home. Look closely at your siding and windowsills for “spatter marks.” When hail strikes a surface, it often leaves a clean spot where it removes oxidation or dirt. If you see circular indentations on your siding or tiny cracks in your window casing, it’s a clear indicator of the hail’s size and the direction the wind was blowing.
Gutter Debris and Downspouts: Your gutters are the “black box” flight recorders of your roof’s health. Check the ends of your downspouts for an accumulation of “granules”—those sand-like pebbles that coat asphalt shingles. While some shedding is normal, a high volume of granules after a storm indicates that your shingles have been “scoured” by hail or wind, leaving the underlying asphalt exposed to UV damage. To prevent future water backup, consider researching the best gutter guards to keep your drainage system clear of the organic debris that storms often deposit.
The Foundation: Check the base of your home for “washout”—areas where soil has been aggressively eroded. This often happens when a gutter fails or a downspout becomes disconnected during heavy rainfall. Pooling water against a foundation is a recipe for basement leaks and structural settling.
Section 2: Identifying Roof Damage (The Natural Bridge)
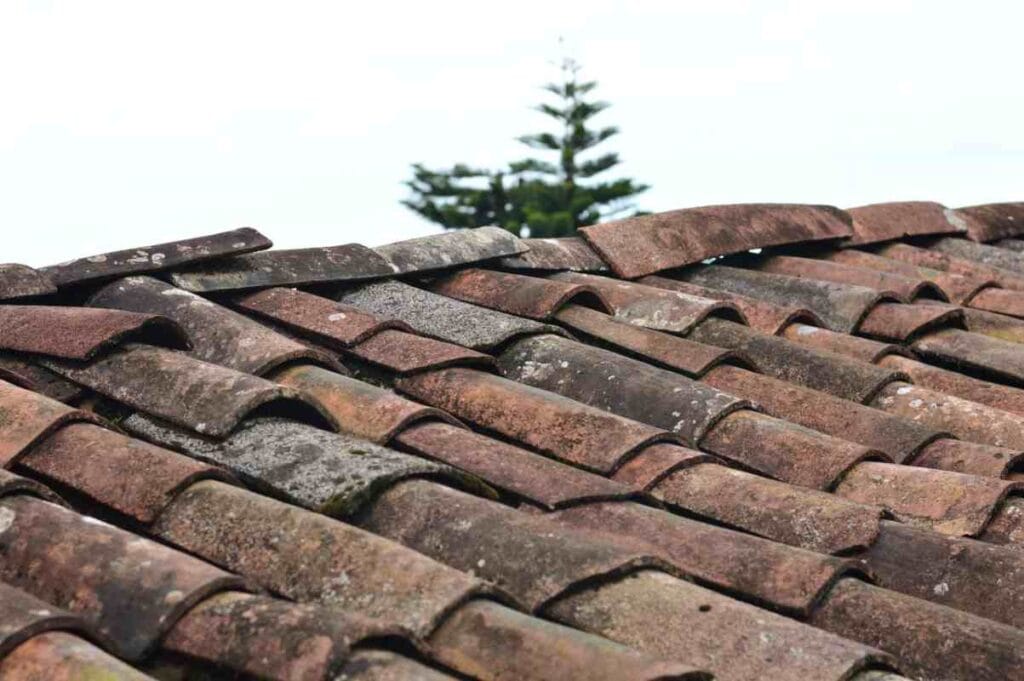
The roof is your home’s first line of defense, but it is also the most dangerous place for an amateur to be after a storm. Surfaces are slick, and structural damage might make certain sections unstable.
The Binocular Method: Never climb onto a wet roof. Instead, use a pair of binoculars from a safe distance on the ground. This allows you to inspect the peaks, valleys, and chimneys without risking a fall.
Visual Red Flags: Keep an eye out for these 5 signs of roof damage:
- Bruising: These are dark, soft spots on shingles where hail has impacted and broken the matting.
- Missing Shingles: Even one missing shingle leaves the underlayment and decking vulnerable to the elements.
- Lifting or Curling: High winds can break the sealant strip under a shingle. While the shingle looks “there,” it is no longer water-tight.
- Damaged Flashing: Look for gaps or dents in the metal strips around chimneys and vents.
- Cracked Shingles: Often caused by wind-driven debris or extreme temperature shifts during the storm.
While some damage is obvious, smaller issues like hairline cracks or flashing gaps are harder to spot. For a deeper dive into the specific visuals, check out this guide on the 5 Signs of Roof Damage to Look Out For.
Section 3: The Interior Investigation
If your roof is the shield, your attic is the “truth-teller.” Even if the exterior looks pristine, the attic will reveal the reality of your home’s health. Grab a high-powered flashlight and head upstairs.
The Flashlight Test: Turn off the attic lights and scan the underside of the roof boards. If you see tiny pinpricks of daylight (in areas that aren’t designated vents), you have a structural opening. Water will find these holes.
Water Trails and Damp Insulation: You don’t need to see an active drip to have a leak. Look for “water trails”—darkened streaks along the rafters or staining on the plywood. Feel the insulation; if it feels matted or damp, moisture is penetrating the envelope of your home.
Mold and Odors: Storm damage can sometimes cause “slow leaks” that don’t drip onto the floor but keep the attic humid. If you notice a musty smell or see dark spotting on the wood, you likely have a ventilation or moisture issue triggered by the storm.
If you notice moisture in the attic, timing is everything. Understanding when you need a roof leak repair can be the difference between a minor patch and a full-scale mold remediation project.
Section 4: Documenting for Insurance
Once you’ve identified potential issues, the way you handle the next hour can determine whether your insurance claim is approved or denied.
1. The “Photo First” Rule: Before you move a single branch or sweep a single shingle, take photos and videos. Document the damage from multiple angles. This provides “proof of loss” that is difficult for adjusters to dispute.
2. Finding a Pro: Beware of “storm chasers”—contractors who go door-to-door after a disaster. Always choose a local, reputable company like Stable Roofing that has a physical office in your community and a solid track record.
3. Temporary Fixes: You have a “duty to mitigate” further damage. If you have an active leak, it is acceptable (and often required) to use a tarp to prevent internal water damage while waiting for a professional assessment. Save all receipts for materials used in these temporary fixes.
A post-storm inspection isn’t just about finding holes; it’s about peace of mind. By spending 30 minutes conducting a thorough perimeter and attic check, you are protecting your home’s long-term value and your family’s safety.
Don’t wait for a yellow ceiling stain to appear or for your energy bills to spike due to wet insulation. Be proactive. A well-maintained roof is a home’s first line of defense; keep it strong to weather the next storm. If you’ve spotted any of the red flags mentioned above, contact a professional immediately to ensure your “survival guide” results in a “surviving home.”